
Tip: If you just want the fix for the Inaccessible Boot Device error, skip to the last section below.
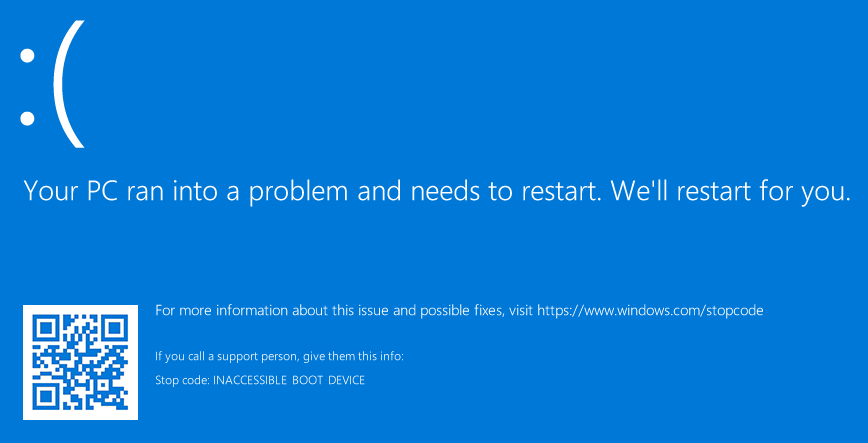 Half a year ago, I attempted to update my Windows 10 desktop from version 1809 to 1903. The update resulted in an “INACCESSIBLE BOOT DEVICE” error on restart. I had encountered the BSOD (blue screen of death). My Windows 10 installation was messed up.
Thankfully, my documents and personal data were backed up. But I did not want to reinstall Windows 10, all my programs, and customizations.
Unsuccessful Fixes and One Highly Dangerous Fix
I scoured the Internet for solutions. I tried all the following without success:
- Startup Repair – did not find any issues. BSOD on reboot.
- System Restore – found no restore points; evidently, a major Windows 10 update will delete all restore points as a preliminary step!
- Safe Mode – still displayed the BSOD.
- Fix MBR and Rebuild BCD file – some of the “bootrec /fixmbr /fixboot /rebuildbcd” commands failed with “access denied” errors.
- System File Checker and Check Disk – “sfc /scannow” and “chkdsk /f” succeeded but on restart, the BSOD still persisted.
- Check the Deployment Image – the “DISM /Online /Cleanup-Image /RestoreHealth” command succeeded but the BSOD still made an appearance.
- Update Motherboard BIOS – still BSOD.
- Enable AHCI Mode in BIOS – already enabled since before.
Note: I thought the BSOD might be caused by BitLocker, but I did not want to disable BitLocker and expose my data. Turns out that BitLocker was not the cause.
In desperation, I manually uninstalled the last 3-4 most recent updates. I would not recommend doing this highly dangerous action because it did not fix the BSOD and in the end, left my Windows 10 system in a partially corrupted state.
Automatic Rollback to the Rescue
Eventually after 3-4 boot failures in a row, Windows 10 automatically performed the rollback from 1903 to 1809.
My Windows 10 desktop was alive again, but Cortana and Windows Search no longer worked. (The Settings and Cortana-related shortcuts on the startup menu were broken as well.) Evidently, Microsoft had separated the Cortana and Windows Search functions in the 1903 update. My manual update uninstalls, combined with the 1903 rollback, resulted in a broken Windows 10 system.
I lived with that broken system for half a year.
No Need for Update Assistant
Recently, I saw that Microsoft had released the 1909 update. I thought that the 1909 update might have fixed the “INACCESSIBLE BOOT DEVICE” BSOD error. Having nothing to lose, I decided to do the update.
The Windows 10 “Check for updates” did not show the 1909 update, so I decided to download and run the “Windows 10 Update Assistant”. The Update Assistant downloaded the latest updates and asked me to reboot. After reboot, the update screen appeared and then immediately disappeared, and then, the Windows 10 login was displayed. I logged in and the “winver” command showed that my Windows 10 desktop was still running version 1809. Fail.
The Fix: Manual Windows 10 Upgrade from ISO
I recall reading somewhere that one could do a full upgrade from one version of Windows 10 to another version using the ISO image. It would be more of a replacement than an update.
Surely, I thought, this would fix my “INACCESSIBLE BOOT DEVICE” BSOD error by totally replacing my partially corrupted Windows 10 installation. Again, having nothing to lose, I decided to do the full upgrade.
Here were the steps I took:
- Disconnect all secondary hard drives.
- If you don’t, the upgrade may fail on reboot with a BSOD containing a “0x80070002 0x20009” error.
- According to Get help with Windows 10 upgrade and installation errors, the “0x80070002 0x20009” error means “The system cannot find the file specified. If you have a disk or disks where you are not installing Windows 10 on, remove those disks.”
- Download the Windows 10 Media Creation Tool using the “Download tool now” button.
- Insert a USB flash drive with 8GB or greater capacity.
- If the Media Creation Tool can’t find the flash drive or make use of it, you may need to manually format it first. Follow instructions from Create Bootable USB Flash Drive With DiskPart Command-Line Utility to do so.
- Run the Media Creation Tool, select the “Create installation media” option, and choose “USB flash drive”.
- Quit the Media Creation Tool after it completes the USB flash drive creation.
- Open the created USB flash drive and run the “setup.exe” file.
- Warning! Do not reboot and load from the USB flash drive because in that mode, only a fresh custom install operation (destroying the existing Windows 10) is supported.
- Follow the “Windows 10 Setup” instructions to do the full upgrade. Make sure that the “Keep personal files and apps” option is selected.
Note: There are two alternative methods that might also do the full upgrade, but I did not try them. First, the Media Creation Tool has an “Upgrade this PC now” option (instead of “Create installation media”). Second, one could create an ISO file (instead of “USB flash drive”), mount it, and run the “setup.exe” from there.
After reboot, the update screen took a long time (about 20-30 minutes) before the Windows login screen appeared. After logging in, I was able to verify that both Cortana and Windows Search were working again. Hurrah!
Optional cleanup steps:
- If you want to free up disk space, run “Disk Cleanup” and select the “Previous Windows Installation(s)” option to remove the “Windows.old” folder. (Or you can manually delete the “Windows.old” folder.)
- The upgrade will disable the “System Protection” feature. If you wish to be able to create and restore save points, you will need to enable it by running “Create a restore point” and selecting the main drive, Configure, and “Turn on system protection”. Adjust the “Disk Space Usage” to 3-5%.