My brother recently switched from a Motorola Android phone to an Apple iPhone 13 Pro. He wanted to keep the “Hello Moto” ringtone, which was not available on the iPhone. I checked the ringtones available on the App Store and they were all remixed audios with male voices. The original “Hello Moto” ringtone featured a female voice.
The solution was to create a custom ringtone. After some research, I discovered that the iOS GarageBand app had a function to create custom ringtones. Thankfully, there were many sites that provided downloads of the “Hello Moto” ringtone. (I got the ringtone from the Prokeraia site.)
Download Ringtone to Music or Files Library
The GarageBand app can load an audio file from the Music or Files library. Supposedly, I could use the iOS Safari app to download the ringtone to the Files library; unfortunately, Safari (and Chrome) disallows this with an error message “iOS devices does not allow you to download the ringtones directly” (perhaps a Prokeraia website restriction). Alternatively, I could send the ringtone to my phone by email or text and download from there into the Files library.
Being a glutton for punishment, I decided to connect the iPhone to my Windows 10 desktop by USB cable and download the ringtone to the Music library.
- Download the ringtone file to the computer.
- Run the iTunes app. (Windows iTunes is buggy. I need to launch iTunes before connecting the iPhone because otherwise, iTunes might not recognize the iPhone.)
- Connect the iPhone by USB cable.
- In iTunes, once the iPhone is connected, click on the top-left phone button (icon showing a vertical rectangle outline) to view the iPhone details.
- Drag the ringtone file to the Music folder under the iPhone’s “On My Device” section. (This will immediately copy the ringtone to the iPhone.)
The above only works if the iPhone has never been synced to any Music library on Windows or Mac. When I tried it with my iPhone XR, the direct copy did not work (iTunes just fails silently) because my iPhone was previously synced to my Mac’s Music library. The solution was to add the ringtone to my iTunes Music library and then sync the library onto the iPhone. Because my iPhone was previously synced to my Mac, the Windows iTunes insisted on deleting the existing Music library on the iPhone before syncing.
Create Ringtone Using GarageBand
Download the free GarageBand app if you don’t already have it. Do the following to create a custom ringtone:
- Press and hold the GarageBand app icon until you see a popup menu. Select “Create New Audio Recording”. (“Audio Recording” is just a Tracks song with Audio Recorder input selected.)
- Tap the Tracks button (top-left icon that looks like a brick wall).
- Tap the Loops Browser button (top-right icon that looks like a loop-the-loop).
- Select the top-right Music tab, then Songs, and locate the “Hello Moto” ringtone.
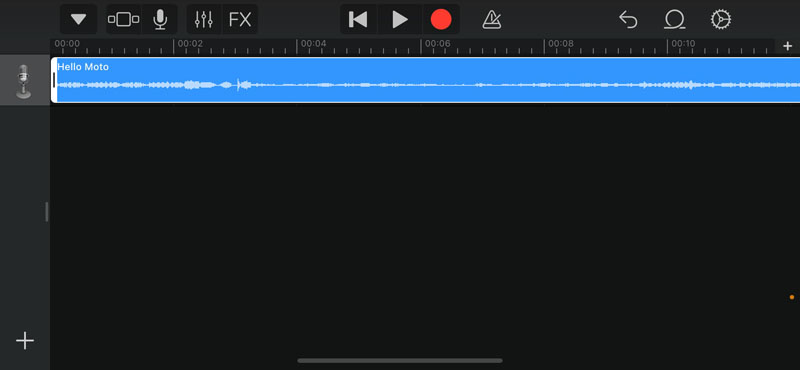
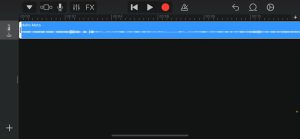 Touch and hold the ringtone, and then drag it left to the beginning of the top-left track.
- Zoom out to see the whole song. Tap the track to select it and then drag the right handle left until the track is 30 seconds or less (required for ringtone). I adjusted to 16 seconds because the downloaded “Hello Moto” ringtone is only 16 seconds long.
- Tap the Navigation button (top-left icon with upside-down triangle) and select “My Songs” to go to the main browser page. You will see a song called “My Song” (or “My Song 2” if you already have a previous one).
- Press and hold “My Song” until you see a popup menu. Tap the top-right Share icon.
- Select Ringtone, edit the name to be “Hello Moto”, and tap the top-right Export button.
- A message dialog saying “Ringtone Export Successful” will appear. Select “Use sound as…” and “Standard Ringtone” to change the standard ringtone to “Hello Moto”.
To test the custom ringtone, run the Settings app, tap “Sounds & Haptics”, tap Ringtone (which should have “Hello Moto” selected), and then tap “Hello Moto” to play. To delete the custom ringtone, drag it left and tap on the red Delete button.
Below is a helpful Apple Support video illustrating the process above.