
I decide to upgrade the performance of my sister’s Late 2011 Macbook Pro by repurposing a 240GB SSD (Solid State Drive). The SSD is formatted as Windows NTFS. I remove the slowpoke mechanical drive from and install the SSD into the 2011 Macbook Pro.
I need to create a bootable USB drive containing the macOS 10.13 High Sierra installer because High Sierra is the last macOS version supported by the 2011 Macbook Pro.
macOS High Sierra Not Found
I go to my Mac mini running macOS 10.14 Mojave to download macOS High Sierra like normal. The App Store doesn’t allow me to look at my past purchases, which would have listed High Sierra. Worst, the App Store search returns no results. Evidently, Apple has decided to make it more difficult to see older versions of macOS.
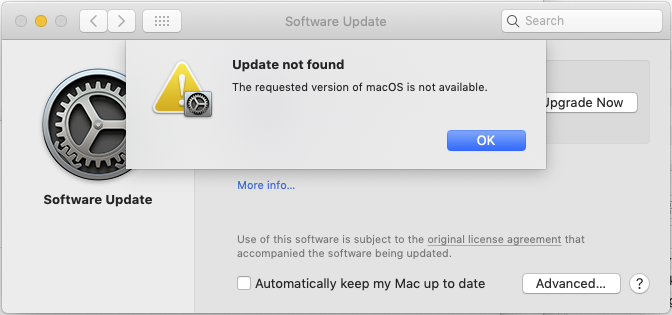 I find a support page, How to upgrade to macOS High Sierra which has a link named “Get macOS High Sierra”. Clicking on it redirects me to the App Store page for High Sierra. Clicking on the Get button to download redirects to “Software Update” with an error message, “The requested version of macOS is not available”.
Research reveals that starting in the latest macOS 10.14.6 Mojave, Apple has disallowed downloading older macOS versions. Thankfully, I find a website, The Mac Go which hosts all the macOS installers for download. I successfully download macOS 10.13 High Sierra.
Note: I borrowed another sister’s Macbook running macOS 10.9 Maverick and was able to download macOS High Sierra using the App Store. Unfortunately, the macOS High Sierra package is only 20MB in size. One would need to run it in order to download the rest of High Sierra inline. Running the “createinstallmedia” command to create a bootable USB flash drive resulted in an error.
I follow the instructions from Install macOS 10.15 Catalina Using Bootable USB Flash Drive to create a bootable USB flash drive containing the macOS High Sierra installer. (The instructions for Catalina are the same for High Sierra and Mojave.)
Cannot Erase NTFS SSD
I boot from the USB flash drive. The 2011 Macbook Pro only has USB 2.0 ports so the macOS High Sierra installer takes longer than expected to load.
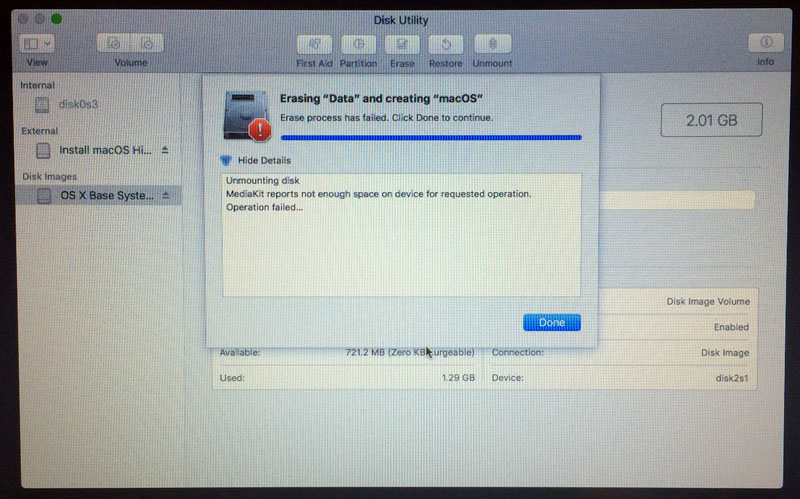 I run the “Disk Utility” application, select the internal SSD, and erase the drive, selecting “Mac OS Extended (Journaled)” as the file system format. “Disk Utility” barfs and fails. The error message is “MediaKit reports not enough space on device for requested operation”.
Note: Strangely, even after failing, “Disk Utility” changes the internal SSD to “Mac OS Extended” format and renames it “disk0s3”. I try to erase again but end up with the same MediaKit error.
From past experience, I know that when “Disk Utility” fails, the diskutil command line will more than likely succeed. I quit “Disk Utility” and launch the Terminal. I run the diskutil commands below:
# The Disk Utility failure left a mix of Windows and Mac partitions below.
[-bash-3.2# diskutil list
/dev/disk0 (internal, physical)
#: TYPE NAME SIZE IDENTIFIER
0: GUID_partition_scheme *240.1 GB disk0
1: Windows Recovery 523.2 MB disk0s1
2: Microsoft Reserved 16.8 MB disk0s2
3: Apple_HFS 239.3 GB disk0s3
....
# Erase the disk and reformat as HFS+ (Mac OS Extended).
# Note: Make sure you are using the correct disk identifier!
]-bash-3.2# diskutil eraseDisk HFS+ name_macOS disk0
Started erase on disk0
Unmounting disk
Creating the partition map
Waiting for partitions to activate
Formatting disk0s2 as Mac OS Extended with name name_macOS
Initialized /dev/rdisk0s2 as a 223 GB case-insensitive HFS Plus volume
Mounting disk
Finished erase on disk0
# View the resulting internal SSD.
[-bash-3.2# diskutil list
/dev/disk0 (internal, physical)
#: TYPE NAME SIZE IDENTIFIER
0: GUID_partition_scheme *240.1 GB disk0
1: EFI EFI 209.7 MB disk0s1
2: Apple_HFS name_macOS 239.7 GB disk0s2
....
To double-check, I quit the Terminal, launch “Disk Utility”, and again erase the internal SSD, selecting “Mac OS Extended (Journaled)” as the format. This time, it succeeds.
macOS High Sierra Is Damaged
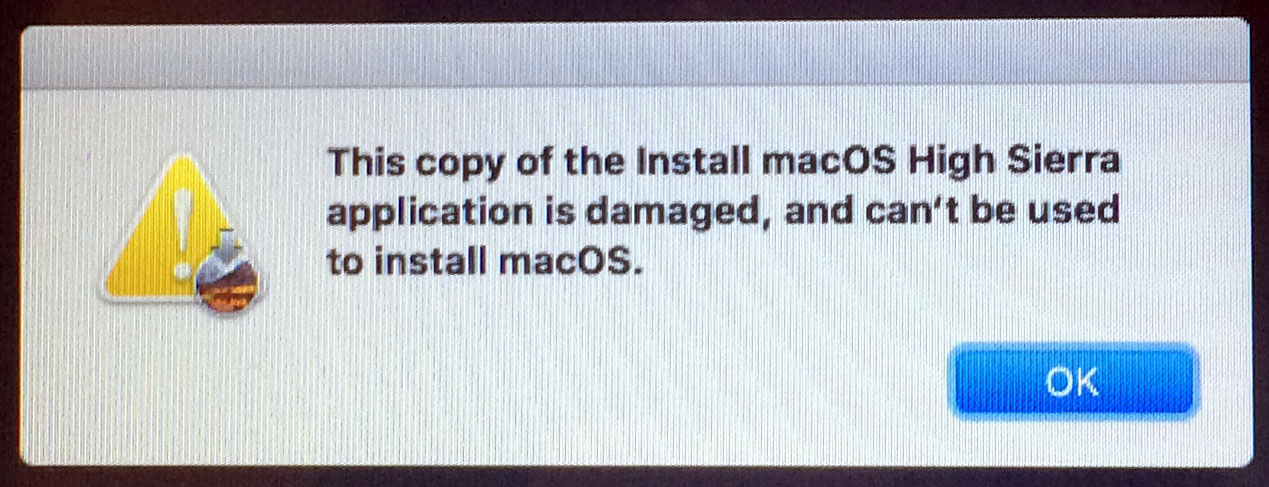 I start the macOS 10.13 High Sierra installation and it throws an error, “This copy of the Install macOS High Sierra application is damaged, and can’t be used to install macOS”.
I found the workaround for the error at [SOLVED] This copy of the Install macOS High Sierra.app application is damaged…. The solution is to change the date back to 2018 because the High Sierra installer certificate expired in 2019!
I close the macOS High Sierra installer and launch the Terminal. I run these commands to regress the date:
date 121401582018
# Check that date has changed by displaying current date.
date
# Fri Dec 14 01:58:00 UTC 2018
Note: On a 2010 Mac mini, the date was automatically updated to the current date between the time that I quit the Terminal and started the macOS installer, preventing the installer from continuing. I had to disable the WiFi to prevent the date from being updated.
I quit the Terminal and restart the macOS High Sierra installer. This time, it successfully runs without the damaged error. Hurrah!