
I needed to clone one hard drive to another. In the past, I would have used a bootable MS-DOS CD containing an old copy of Norton Ghost 8. This time, I decided to see what is currently available and could be launched from a bootable USB flash drive. I found the open source Clonezilla Live utility, which is a small GNU/Linux distribution capable of running from a USB flash drive and cloning hard drives.
I decided to follow Clonezilla Live’s “MS Windows Method B: Manual” instructions to create a bootable USB flash drive.
- Follow these DiskPart instructions to create a bootable USB flash drive. (Clonezilla Live requires the FAT32 format and at least a 200MB capacity flash drive.)
- Download the latest stable release of Clonezilla Live. If you have a 64-bit capable machine, select “amd64” for “CPU architecture”. Or select “i586” for 32-bit. Select “zip” for “file type”.
- Unzip the Clonezilla Live Zip archive to the USB flash drive.
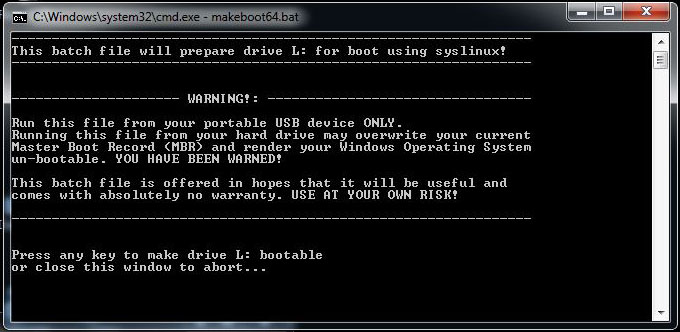
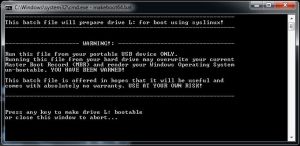 Launch the Command Prompt utility, change directory to the USB flash drive, and run “utils\win64\makeboot64.bat” for 64-bit or “utils\win32\makeboot.bat” for 32-bit. The “makeboot64.bat” or “makeboot.bat” script will modify the USB flash drive to boot the small GNU/Linux distribution and run the Clonezilla Live utility. (The makeboot utility will display the drive letter to be modified before continuing; please make sure that it is the correct one belonging to the USB flash drive.)
Clonezilla Live will show a lot of options which unfortunately are not easy to understand. The simplest way to deal with it is to accept the default when you are not sure.
- Attach the destination hard drive to the same machine containing the source hard drive.
- Start the machine and boot from the USB flash drive. You may need to press a particular function key to load the boot menu (F12 on my Lenovo desktop) or you may need to adjust the BIOS setup to boot from a USB drive before the hard drive.
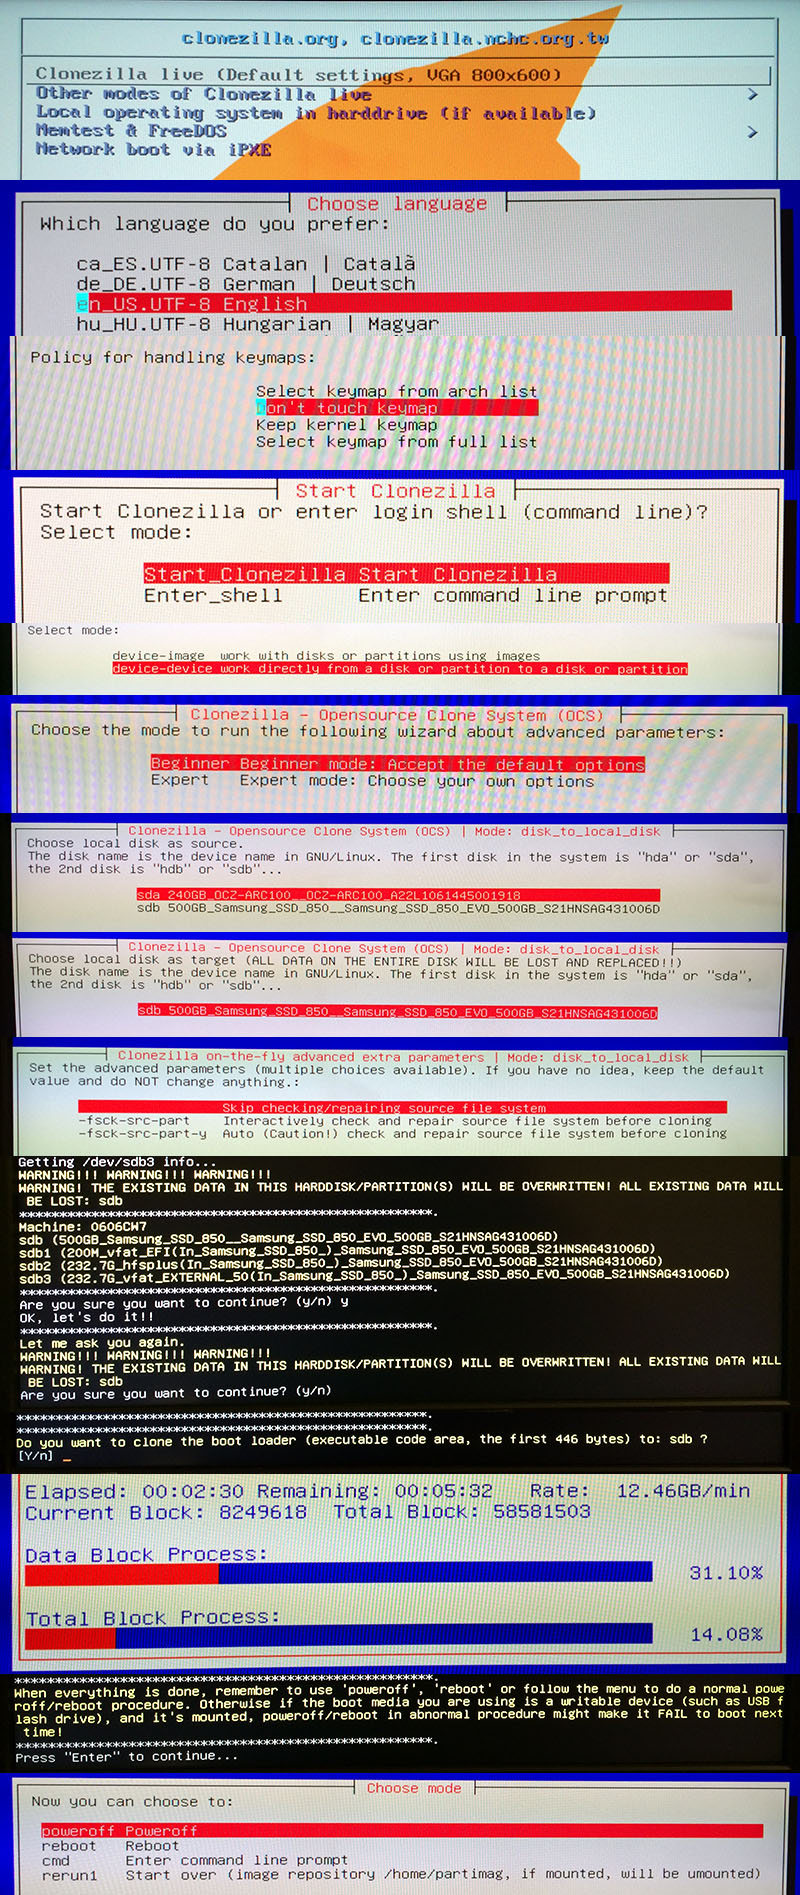
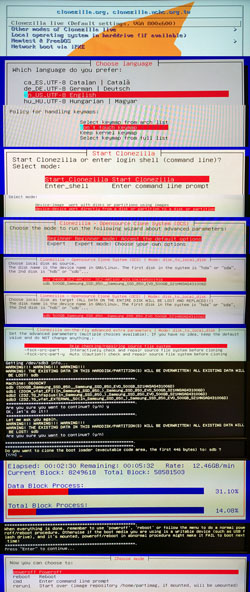 On Clonezilla Live’s startup screen, keep the default “Clonezilla live (Default settings, VGA 800×600)” and press Enter.
- Press Enter to accept the pre-selected language, “en_US.UTF-8 English”.
- Keep the default “Don’t touch keymap” and press Enter.
- Make sure “Start_Clonezilla” is selected and press Enter to start.
- Because I am copying from one hard drive to another, I select the “device-device work directly from a disk or partition to a disk or partition” option. Press Enter.
- To keep it simple, stay with the “Beginner mode” option and press Enter.
- Select the source hard drive and press Enter.
- Select the target destination hard drive and press Enter.
- Keep the default “Skip checking/repairing source file system” selection and press Enter.
- Type “y” and press Enter to acknowledge the warning that all data on the destination hard drive will be destroyed.
- Type “y” and press Enter a second time to indicate that you are really sure.
- In answer to the question “do you want to clone the boot loader”, type uppercase “Y” and press Enter. (I need to clone the boot loader so the destination hard drive will be bootable like the source hard drive.)
- The hard drive cloning will occur. It took me around 10 minutes copying from one SSD to another SSD. (The length of time required to complete the process is dependent on the speed of both the source and destination hard drives.)
- When the cloning completes, press Enter to continue.
- Select “poweroff” to shut down the machine.
- Once the machine is off, swap the hard drives (or remove the source hard drive) and boot from the destination hard drive.
Even though my destination hard drive was twice the size of the source hard drive, the cloned destination partition size was the same size as the original source partition. I then used the free EaseUS Partition Master utility to increase the size of the destination partition (without destroying the data on it). Probably, Clonezilla Live’s expert mode has a setting to adjust the destination partition size.